How to Make Clarified Butter, from 4 cultures
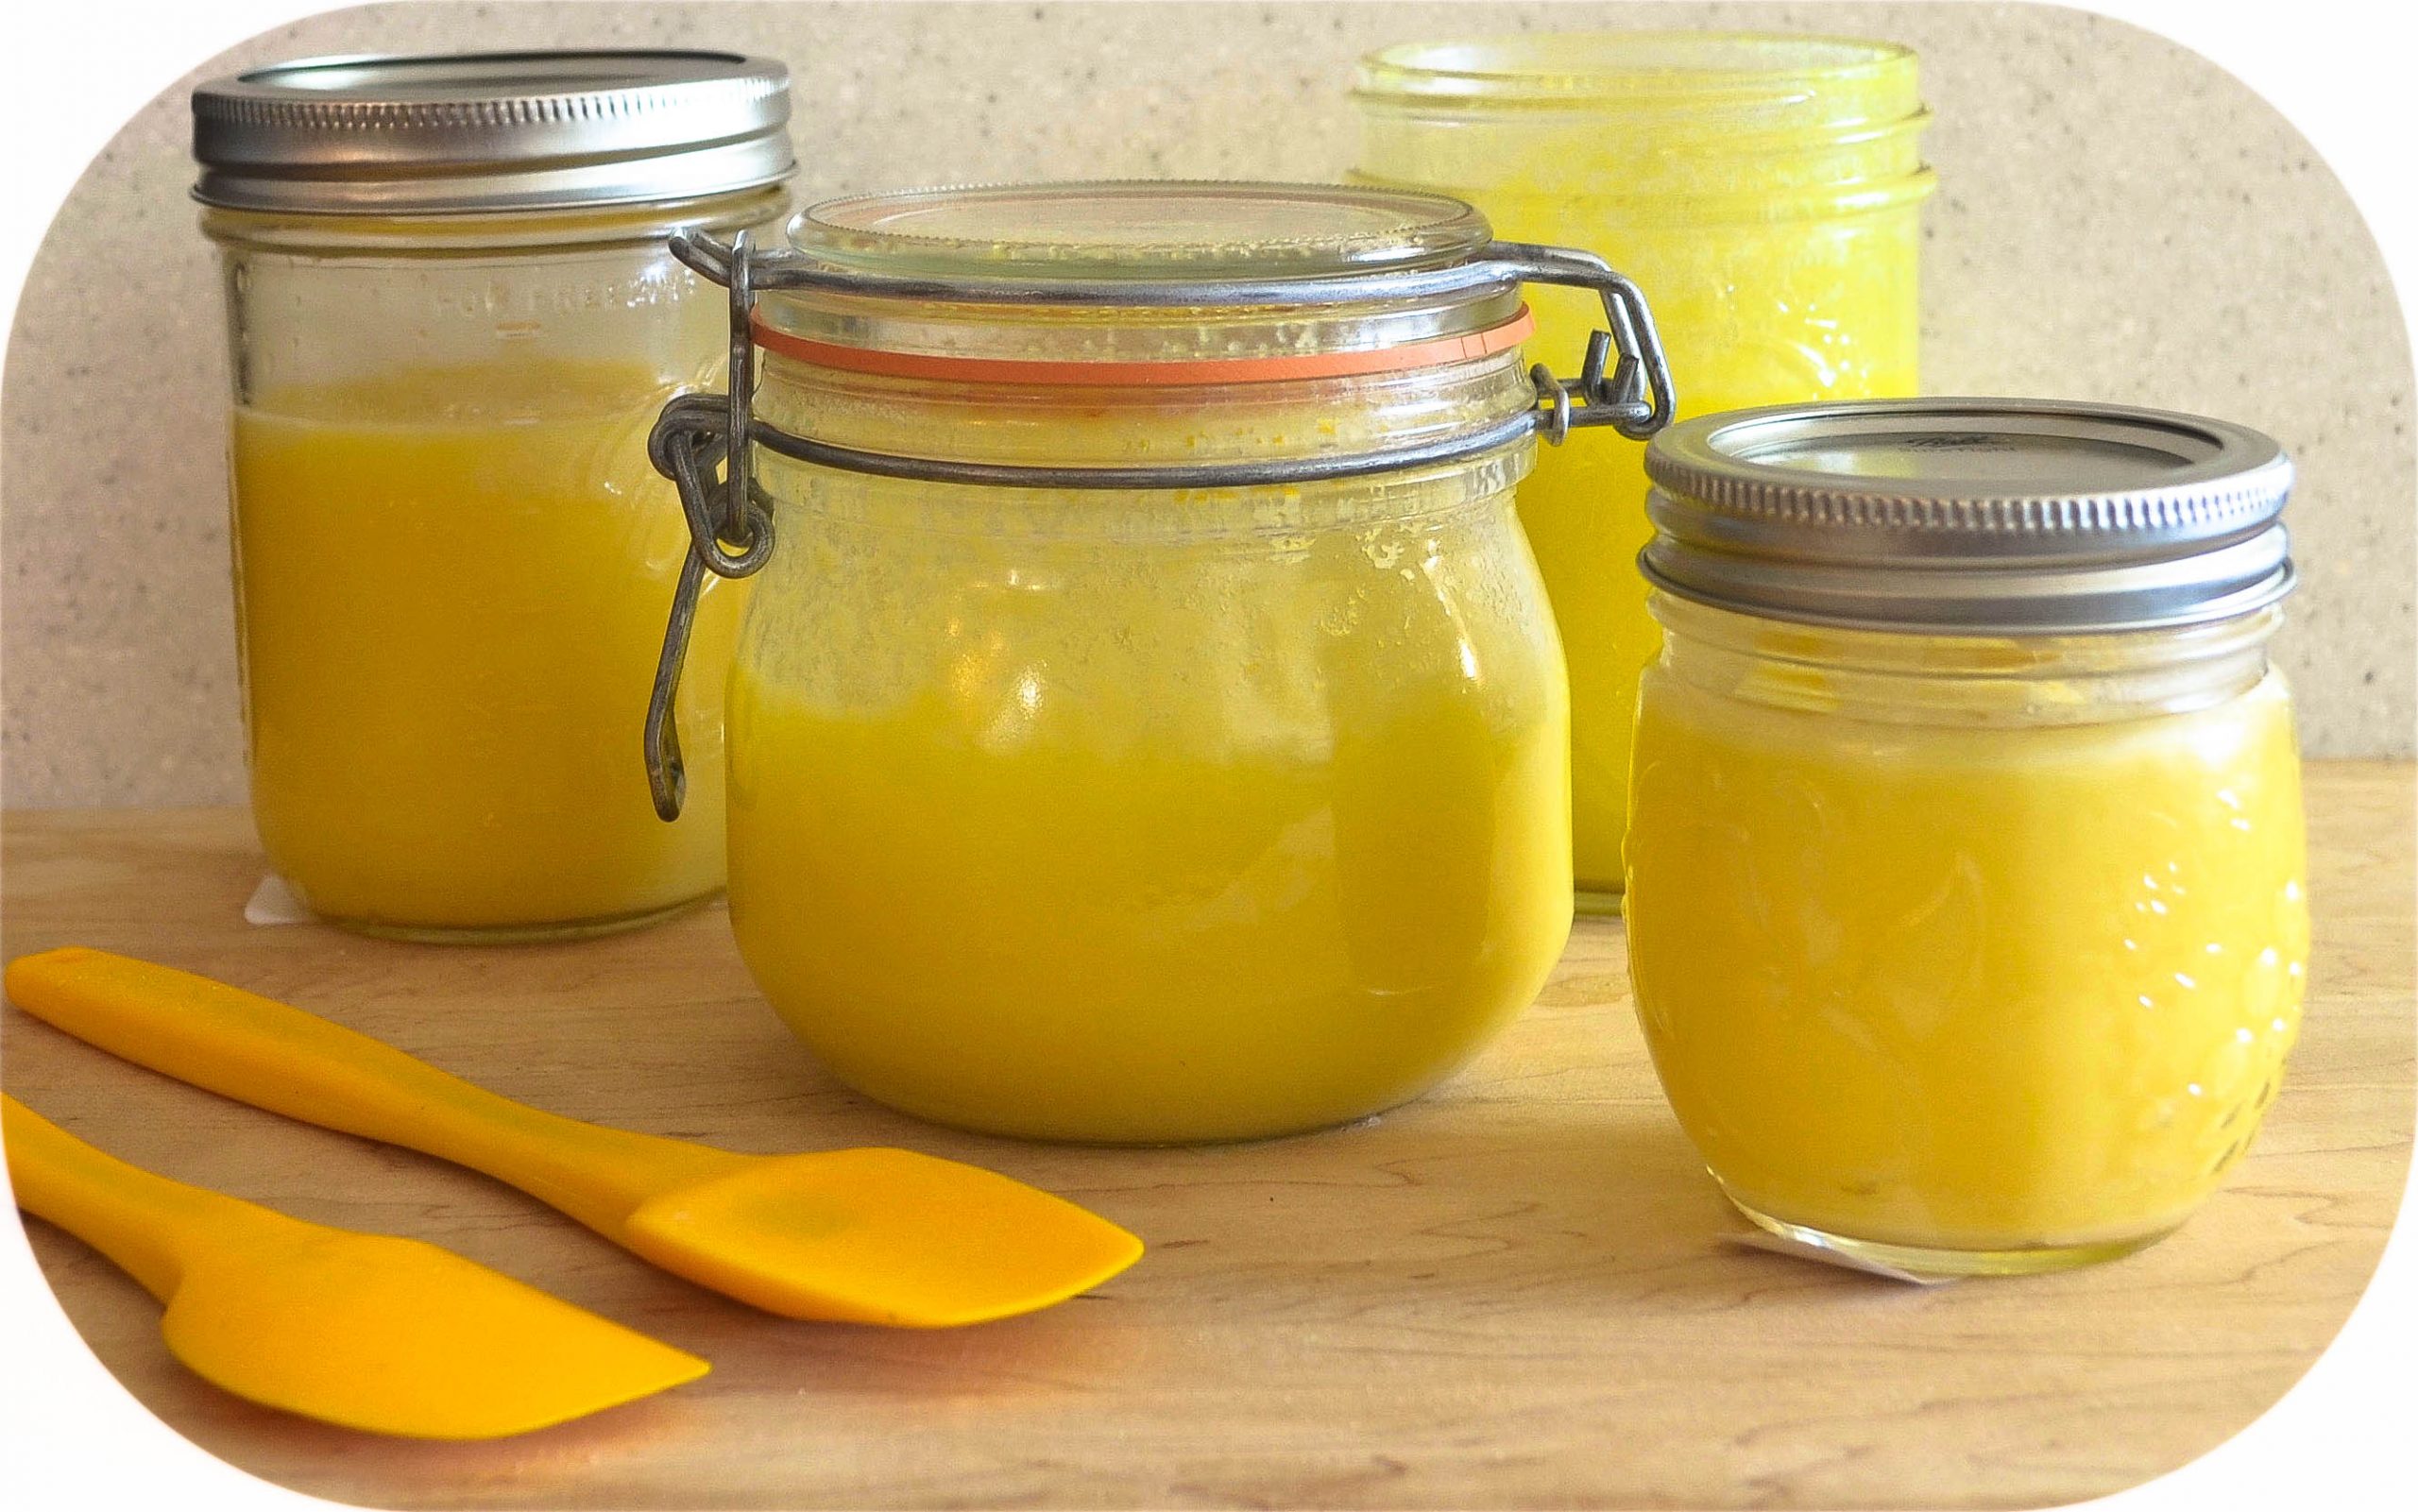
Clarified butter is a staple of fine cooking, such as French cuisine. It is pure butterfat; the milk solids and water in ordinary household butter have been rendered out. Clarified butter has a higher smoke point than regular butter, so it is better for cooking methods that require high heat, such as searing. It also lasts longer. The milk solids are what cause ordinary butter to spoil first; with these removed, clarified butter keeps longer, so you can bring it with you when you travel. It is solid at room temperature.
Clarified Butter: Basic Recipe
This post contains affiliate links. For more information, click here.
It’s simple to make clarified butter at home. Be sure to use unsalted butter, as salt makes butter turn rancid. Use the best butter you can find; I like Kerrygold.
I usually clarify a pound at a time, but you can make it in any amount; the butter will lose roughly 25 percent of its volume through the clarifying process. I keep it refrigerated, but it can last safely at room temperature for at least a month.
You will need:
- a knife
- a cutting surface
- a medium saucepan with a pouring lip
- a heat-safe stirring spoon
- a fine-mesh strainer
- cheesecloth
- a heat-safe liquid measuring cup or mixing bowl with a pouring lip
- a jar or jars
Clarified Butter
Ingredients
- 1-2 lbs unsalted butter, cut in rough 1" cubes
Instructions
-
Melt butter over med.-low heat in med. saucepan w/ pouring lip, stirring occasionally. After several minutes, a foamy layer will bubble on top of melted butter.
-
Continue simmering until bubbling of foamy layer slows, approx. 5-10 min. Remove from heat. Let stand 5 min. Meanwhile, line fine-mesh strainer w/ 3-4 layers of cheesecloth.
-
Skim foamy layer off butter and discard or reserve for another use.
-
Pour melted butter through lined strainer into heat-safe measuring cup or mixing bowl w/ pouring lip, leaving behind bottom layer of milk solids. Discard solids, or reserve for another use.
-
Transfer clarified butter to clean, dry jar and seal. Let cool and refrigerate. Clarified butter should last 3-6 months.
Because it can last so long without refrigeration, many warm-climate cultures have developed versions of clarified butter:
Ghee: Indian Clarified Butter
Ghee is butter that has been clarified longer, resulting in a nuttier taste. It is the basic cooking fat of Indian cuisine. If you like the popular dish saag paneer (spinach with cubes of Indian cheese) for example, the paneer has been sautéed in ghee, giving it that golden brown shade on the sides.
You will need:
- a knife
- a cutting surface
- a medium saucepan with a pouring lip
- a heat-safe scraper
- a fine-mesh strainer
- cheesecloth
- a heat-safe liquid measuring cup or mixing bowl with a pouring lip
- a jar or jars
Ghee
Ingredients
- 1-2 lbs unsalted butter, cut in rough 1" cubes
Instructions
-
Melt butter in over med. heat in med. saucepan w/ pouring lip, stirring occasionally. After several minutes, a foamy layer will form on top of the butter, and the butter will start to simmer.
-
Once the butter simmers, reduce heat to med.-low. Continue cooking for approx. 10-15 min., gently scraping any milk solids that stick to the side or bottom of the pot, as the foam dissipates.
-
Continue cooking, scraping as necessary, for another 4-5 min. until a second foamy layer forms. Remove from heat. Rest 2-3 min.
-
Meanwhile, line strainer w/ 3-4 layers of cheesecloth. Pour butter through strainer into heat-safe measuring cup or mixing bowl w/ pouring lip. Discard brown solids or reserve for another use.
-
Let cool and transfer ghee to clean, dry jar and seal. Ghee should last at least 2-3 months stored in pantry or cupboard, or up to a year in refrigerator.
I like to make ghee and basic clarified butter at the same time. I save the milk solids from both (you can take the woman out of New England …) and combine them together in a small mason jar.
The taste is rich, sweet, and nutty, and the aroma is like fresh caramel; it is fantastic on spaghetti squash. Just be sure to refrigerate as soon as it cools; this is the part of the butter that can go over quickly.
Niter Kibbeh:
Ethiopian Herbal Butter
Ethiopia is a land-locked country with rugged terrain in east Africa. Partly due to its isolation, it has a unique cuisine, featuring meat and vegetable stews, served atop porous sourdough flatbread called injera, often washed down with tej, honey wine similar to mead.
The basic cooking fat of Ethiopian cuisine is niter kibbeh, butter clarified with indigenous herbs. If you’ve seen “Ethiopian butter” or “herbal butter” mentioned on the menu in an Ethiopian restaurant, niter kibbeh is what they’re talking about.
The herbs are:
- Besolbila. Also called “Ethiopian sacred basil”, it is nothing like the basil common to Italian cooking. It has a slightly musty aroma.
- Korerima. Black cardamom, nothing like the green cardamom easily found in American grocery stores. It is available in pods and grains; my local Ethiopian grocer says to use the grains for niter kibbeh. They have a very pleasant aroma like freshly cut grass.
- Koseret. My local Ethiopian market translates this as “wild herb” (very helpful). It has an aroma like a walk deep in the woods after a rain.
(Note that spellings can vary; I’ve copied here the spellings that my local market uses.)
Unfortunately, the same topography that has preserved the uniqueness of Ethiopian cuisine also keeps foreign trade difficult and expensive, leaving the right herbs hard to find (and keeping the Ethiopian economy weak). Your best bet is a nearby Ethiopian market (D.C./NoVA friends: I go to Ayana in Arlington.).
Niter kibbeh has a strong fresh but layered taste that adds unique depth and texture. You can use it to sear meats, sauté vegetables, flavor rice or mashed potatoes or popcorn, virtually anywhere you use butter, but keep in mind that a little goes a long way.
Following is a basic recipe for authentic niter kibbeh. You can experiment further with commonly available herbs and spices you like, such as fenugreek, ginger, cinnamon, and cloves.
You will need:
- a knife
- a cutting surface
- a medium saucepan with a pouring lip
- measuring spoons
- a heat-safe stirring spoon
- a fine-mesh strainer
- cheesecloth
- a heat-safe slotted spoon
- a heat-safe liquid measuring cup or mixing bowl with a pouring lip
- a jar or jars
Niter Kibbeh
Ingredients
- 1 lb unsalted butter, cut in rough 1" cubes
- 1 sm. onion, chopped
- 3 cloves garlic, peeled and sliced
- 2 tbsp dried besobela
- 1½ tbsp korerima grains
- 1 tbsp dried koseret
- ¼ tsp ground tumeric
Instructions
-
Place butter in med. saucepan w/ pouring lip. Add remaining ingredients. Bring to low simmer over med.-low heat, stirring occasionally.
-
Reduce heat to low. Continue cooking, stirring frequently, 60-90 min. Do not let the butter burn.
-
Remove from heat. Rest 1-2 min.
-
Meanwhile, line strainer w/ 3-4 layers of cheesecloth. Remove lg pieces of onion and herbs w/ slotted spoon and discard. Pour butter through strainer into heat-safe measuring cup or mixing bowl w/ pouring lip.
-
Let cool. Transfer to clean, dry jar and seal. Niter Kibbeh should keep 4-5 weeks in pantry, or 2-3 months in refrigerator.
Smen:
Middle Eastern Fermented Butter
Depending on which legend you believe, smen originated in Morocco, or Yemen, or somewhere else. It is a very pungent clarified butter, closer to a stinky cheese than household butter. If you like really strong bleu cheese, you might like smen. It’s commonly used to flavor couscouses and tagines, but you can simply spread it on toast if you like.
Remember above where I said that salt will turn butter rancid? Well, that’s actually the point with smen. In fact, in French it’s called beurre rance.
Along with the salt, you can make smen with or without za’atar (but why would you not??). I’ve never found za’atar as good as what I bought way too little of in Tel Aviv, so I make it myself; use dried thyme if you follow my za’atar recipe to put in smen. Traditionally, smen is put in a jar and buried underground to ferment for months or even years. The longer it sits, the more pungent it becomes. I keep it in my pantry cupboard for at least a month before opening.
You will need:
- a knife
- a cutting surface
- a medium saucepan with a pouring lip
- a dry measuring half-cup
- a muslin spice bag
- a heat-safe stirring spoon
- a fine-mesh strainer
- cheesecloth
- a heat-safe slotted spoon
- a heat-safe liquid measuring cup or mixing bowl with a pouring lip
- measuring spoons
- a jar or jars
Smen
Ingredients
- 1 lb unsalted butter, cut in rough 1" cubes
- ½ c. dried za'atar
- 1 tbsp Kosher salt
Instructions
-
Melt butter over low heat in med. saucepan w/ pouring lip.
-
Meanwhile, place za'atar in muslin spice bag and close.
-
When butter is melted, Increase heat to med.-low and bring butter to simmer. Immediately reduce heat back to low.
-
Place za'atar bag in butter. Gently simmer butter, stirring occasionally, until milk solids on bottom reach a pale brown shade, approx. 30-45 min. Remove from heat. Rest 1-2 min.
-
Meanwhile, line strainer w/ 3-4 layers of cheesecloth. Remove za'atar bag from butter w/ slotted spoon and discard. Pour butter through strainer into heat-safe measuring cup or mixing bowl w/ pouring lip. Stir in salt. Let cool.
-
Transfer to clean, dry jar and seal. Store in dark pantry or cupboard (or bury underground!) for at least 1 month. Refrigerate after opening. Smen should last for years.
Looking for help with meal planning? You might like Prepear, a free app where you can find and save recipes, store meal plans, and automatically create grocery lists.
Do you love discovering foods from different cultures? You might enjoy:

After my misspent youth as a wage worker, I’m having so much more fun as a blogger, helping other discerning travellers plan fun and fascinating journeys. Read more …







One Comment